Using Studio Lighting with a Light Cone
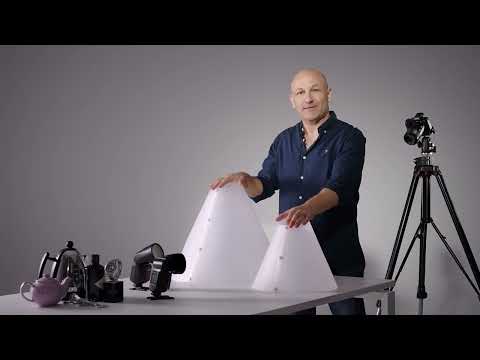
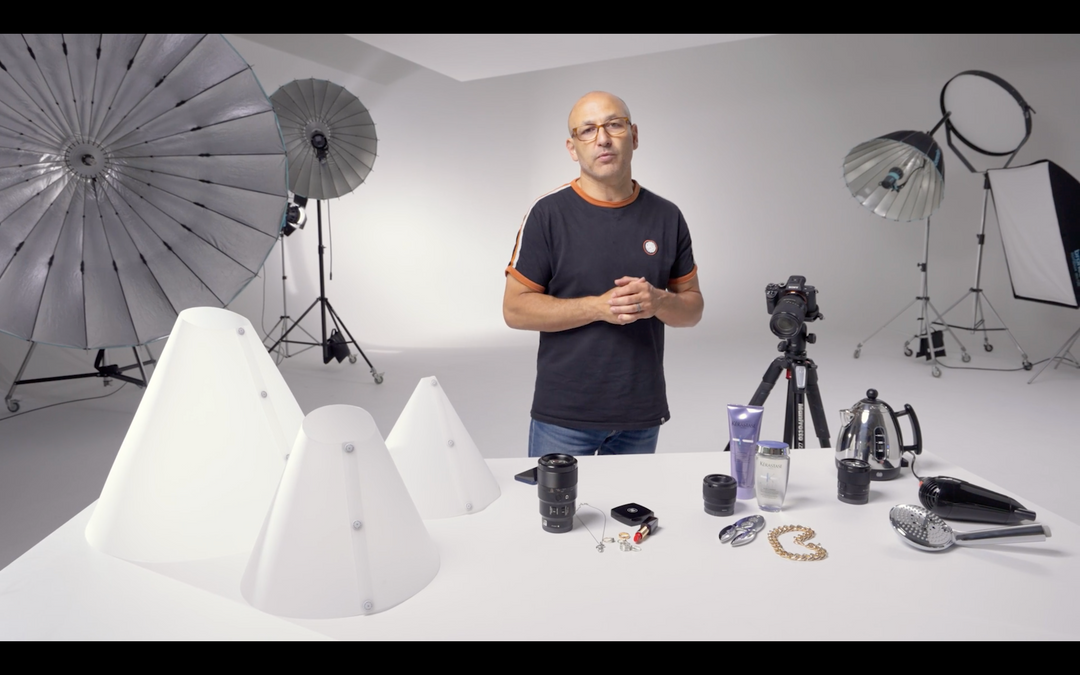
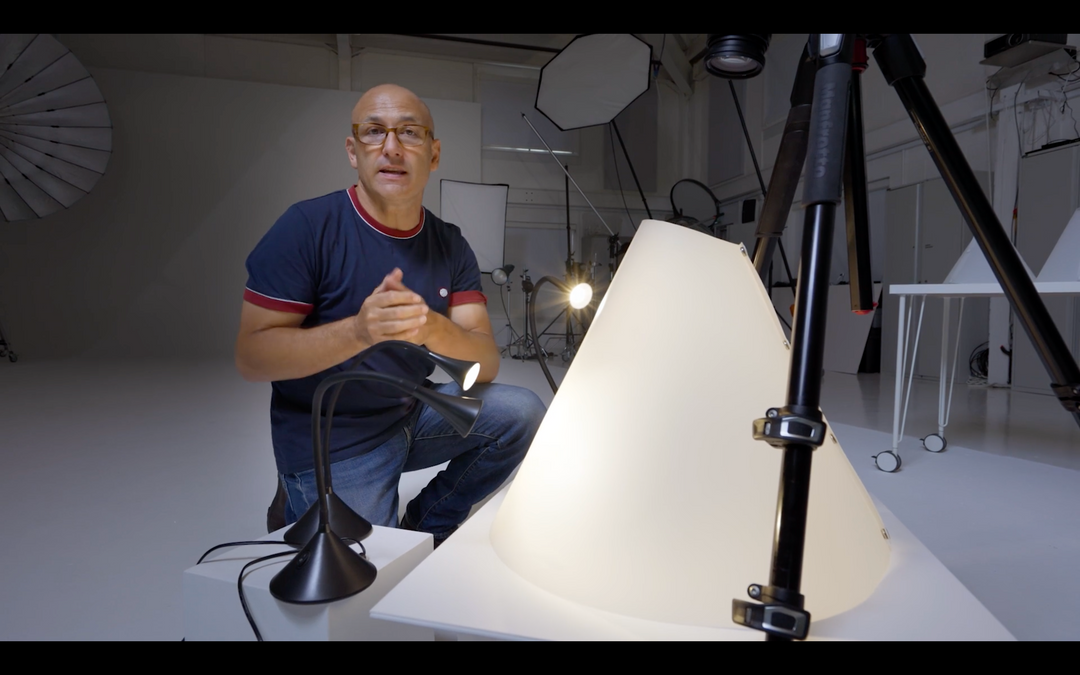
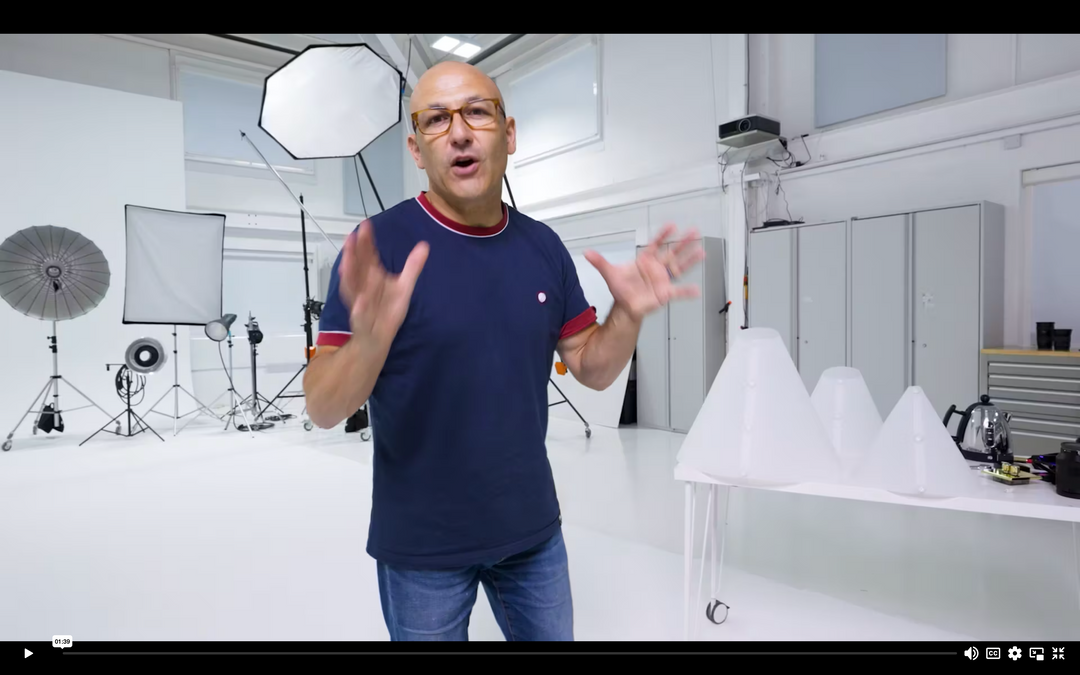
In this article, we'll be discussing using Studio Lighting with a light cone. Studio lighting with a modeling light and a flash tube built-in is the most common form of lighting used in studios. It has a lot of power output and continuous light that allows you to see what you're doing at the same time. Continuous lighting in its Bare Bulb form doesn't have any modifiers or accessories attached to it, and that's precisely how we want to use it with the light cone.
The Standard Setup of Positioning Studio Lights
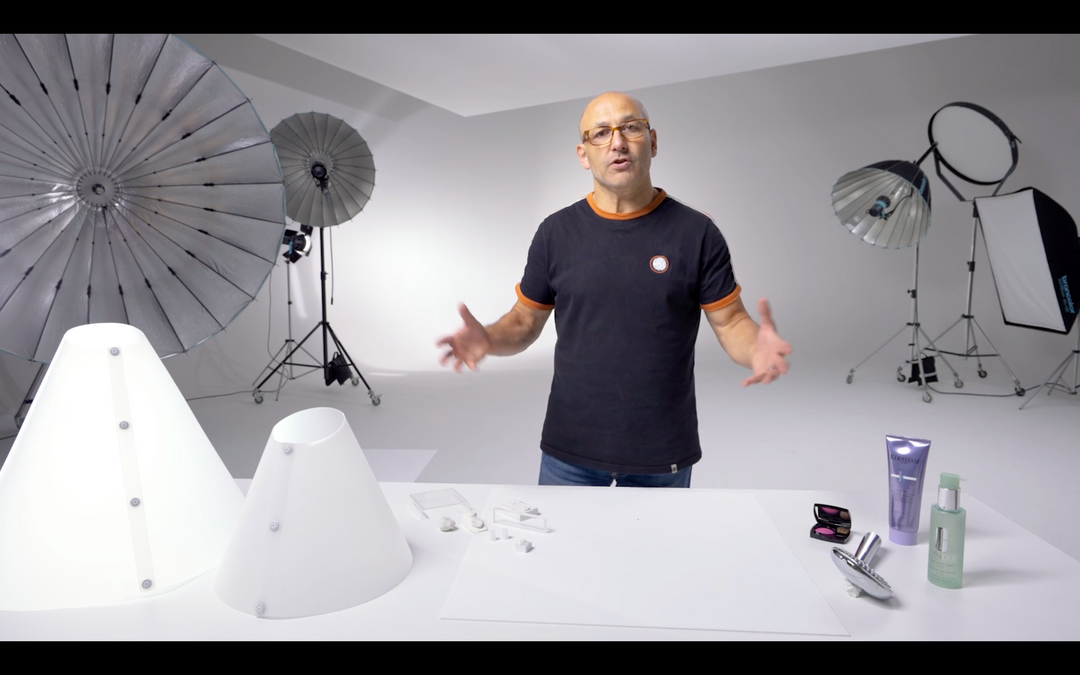
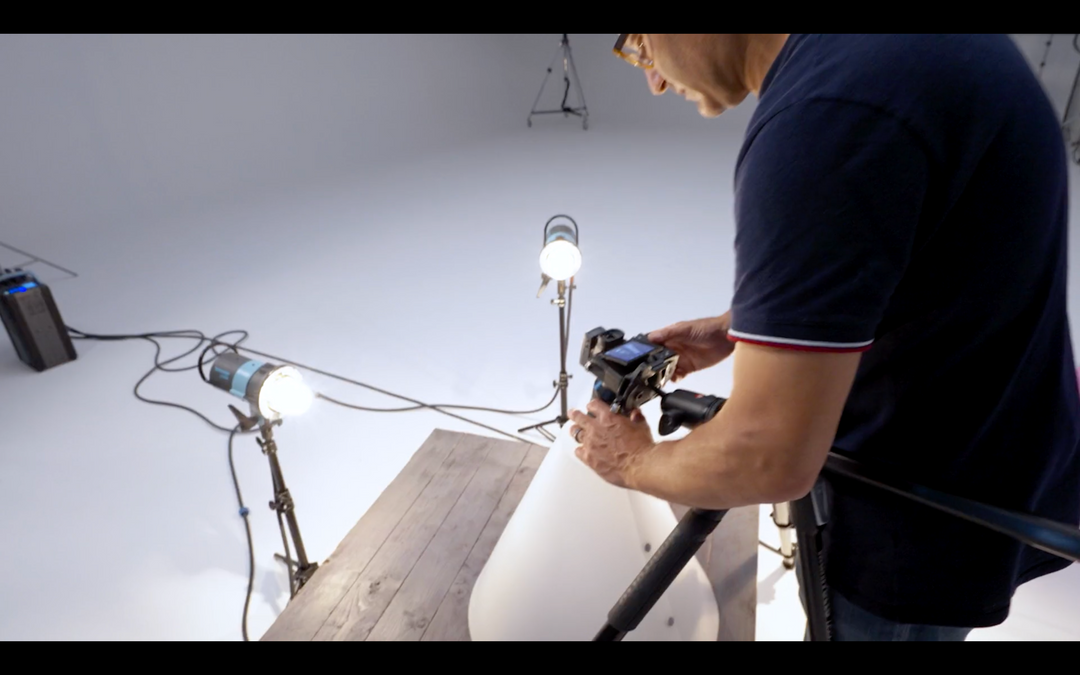
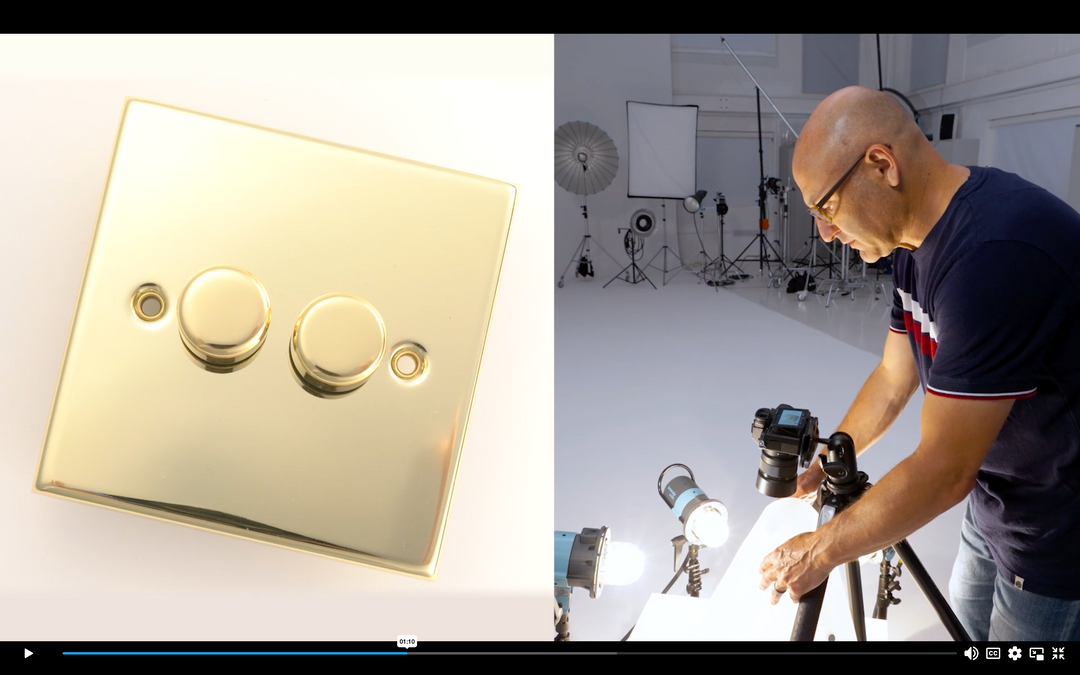
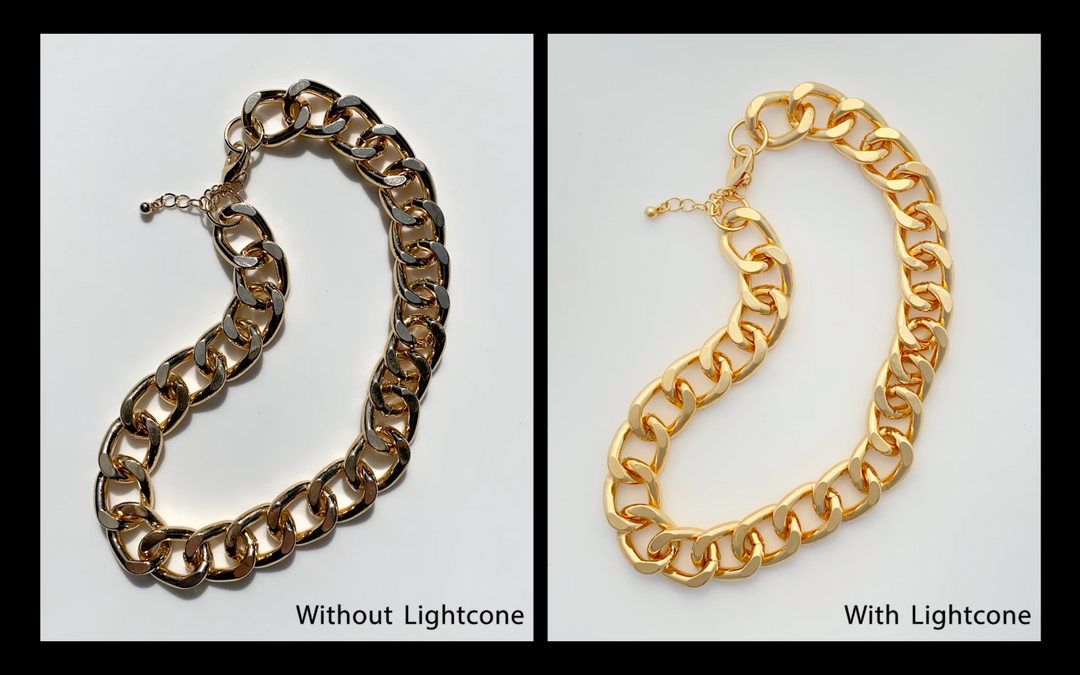
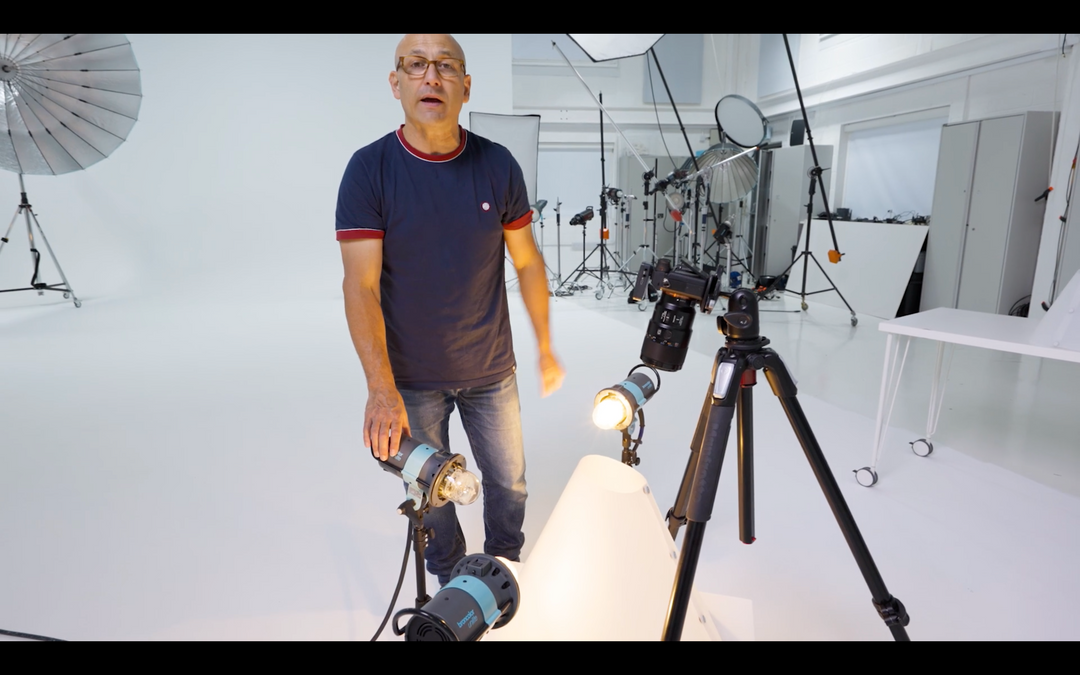
We'll start by taking a picture of a very gold glossy metal light switch with a dimmer switch, which is challenging to photograph due to its reflective properties. We'll see how easy it is to photograph with the light comb and show you the standard setup of positioning your studio lights so you can understand where to work with them. We can position them at various heights and distances away for an effect, which we'll be covering in another video.
The Lighting Control
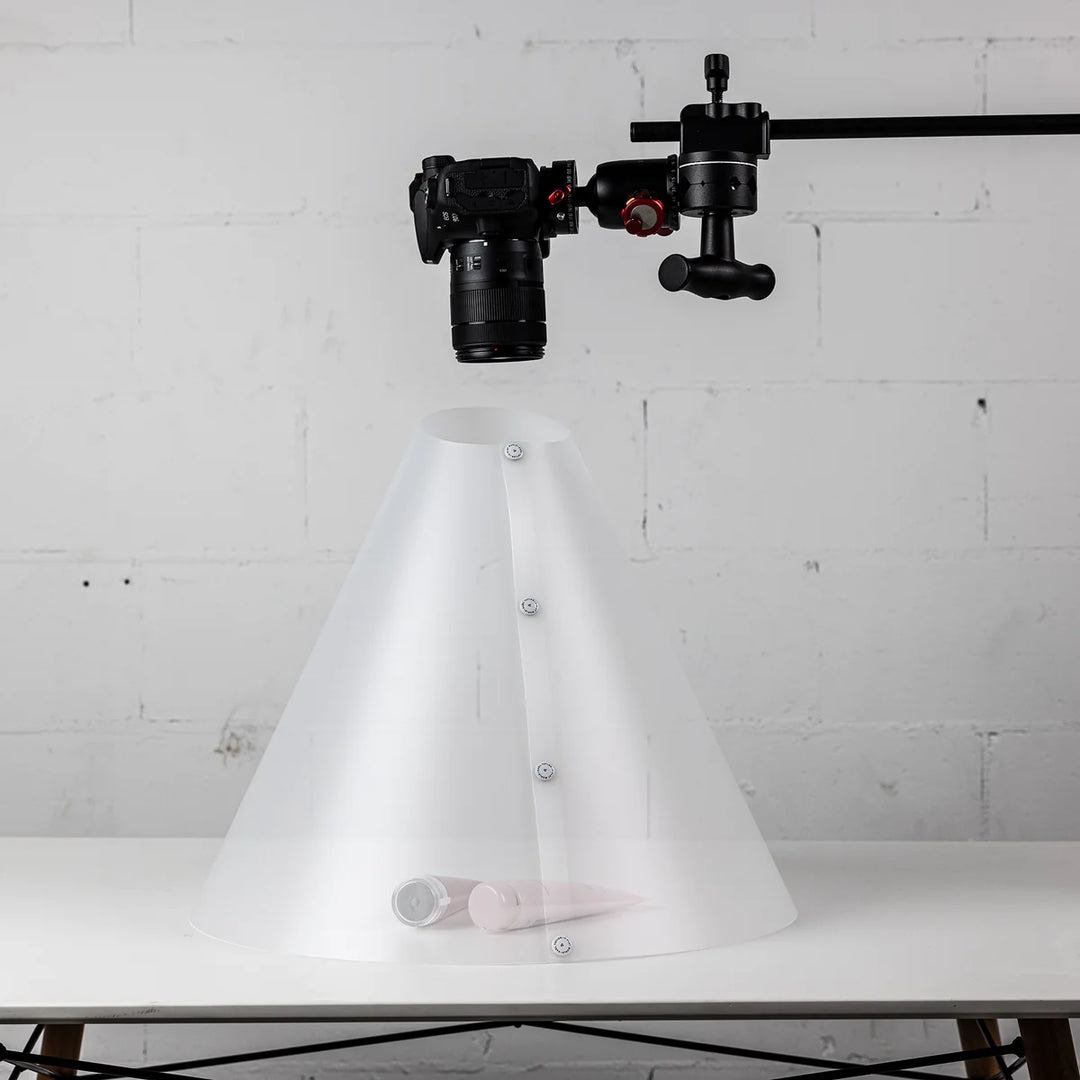
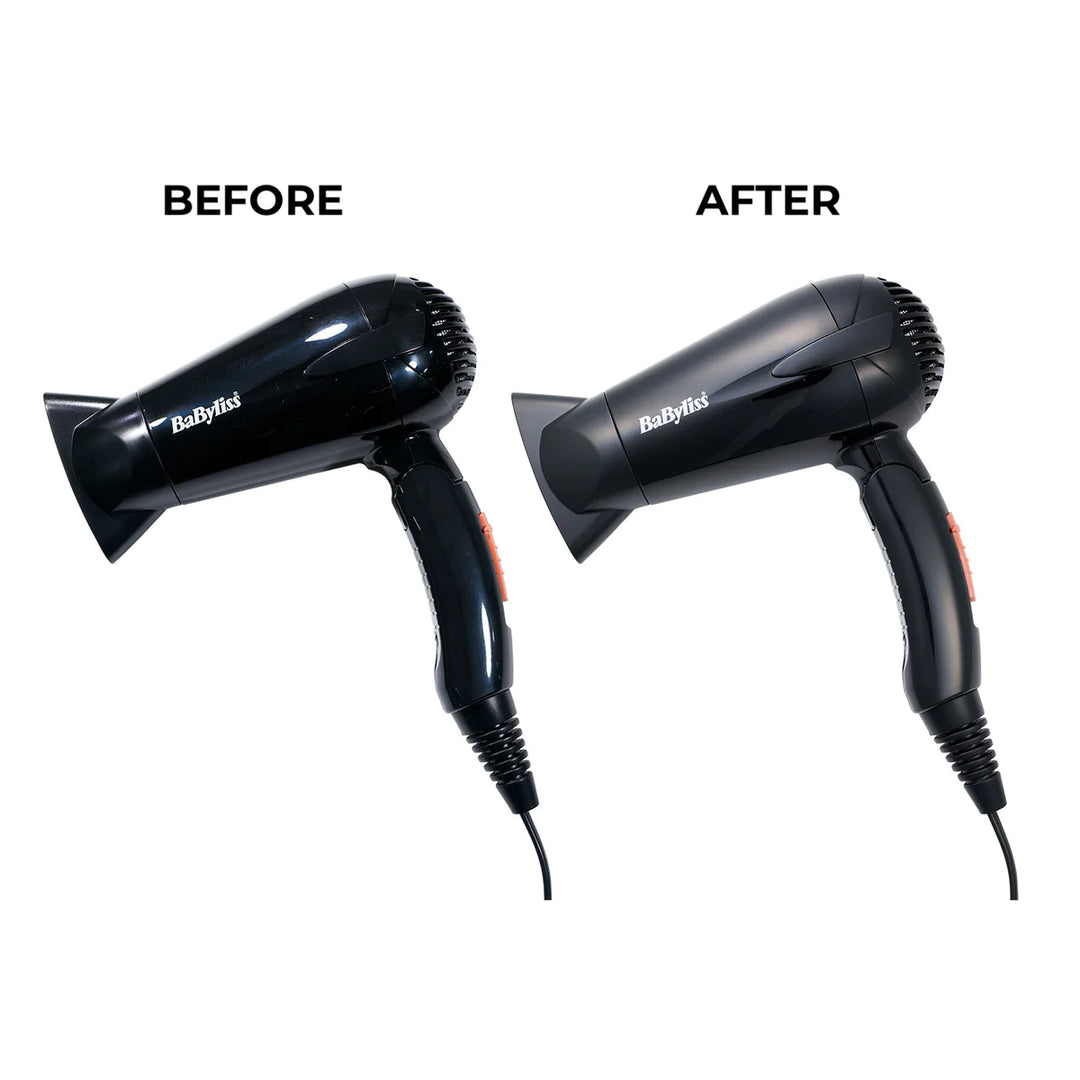
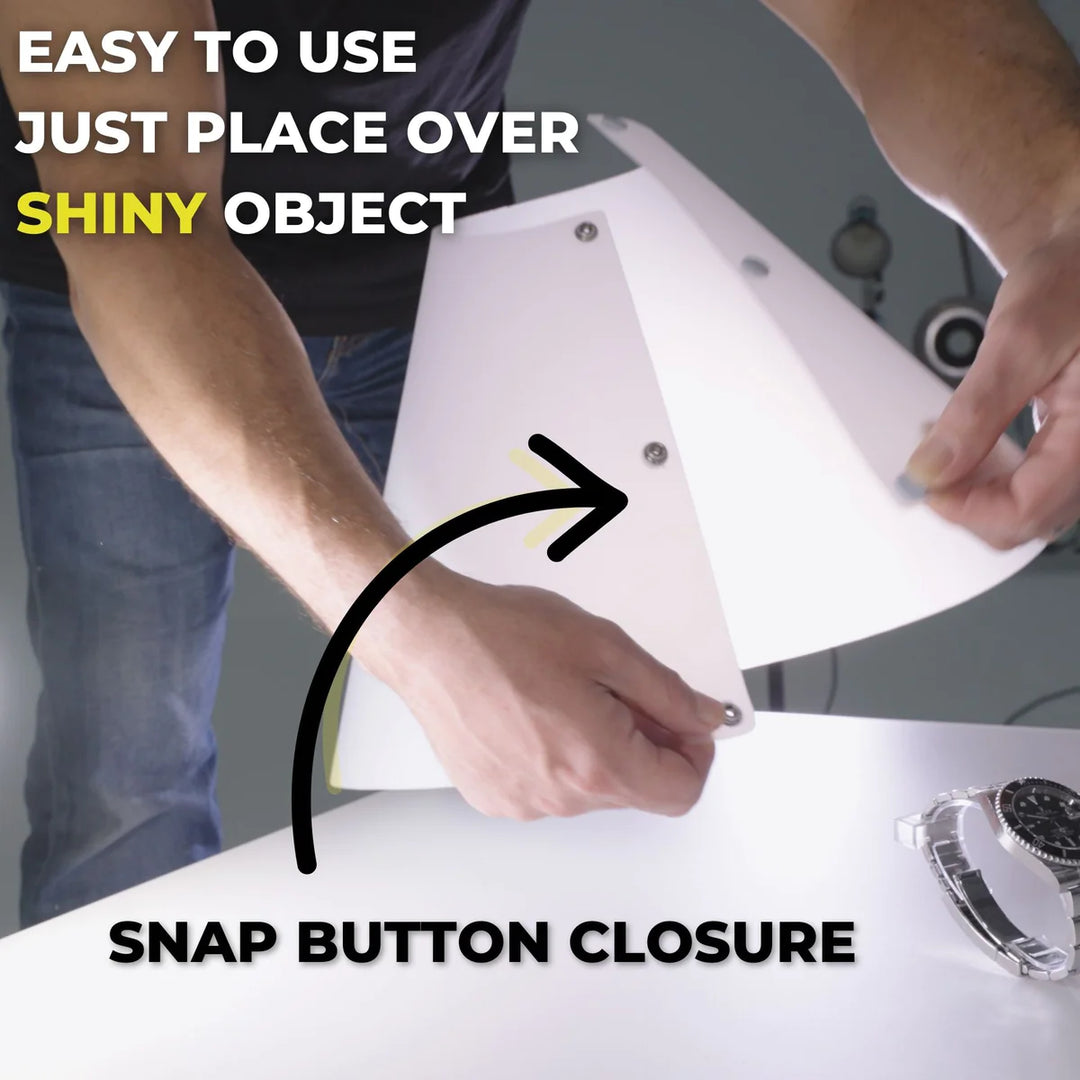
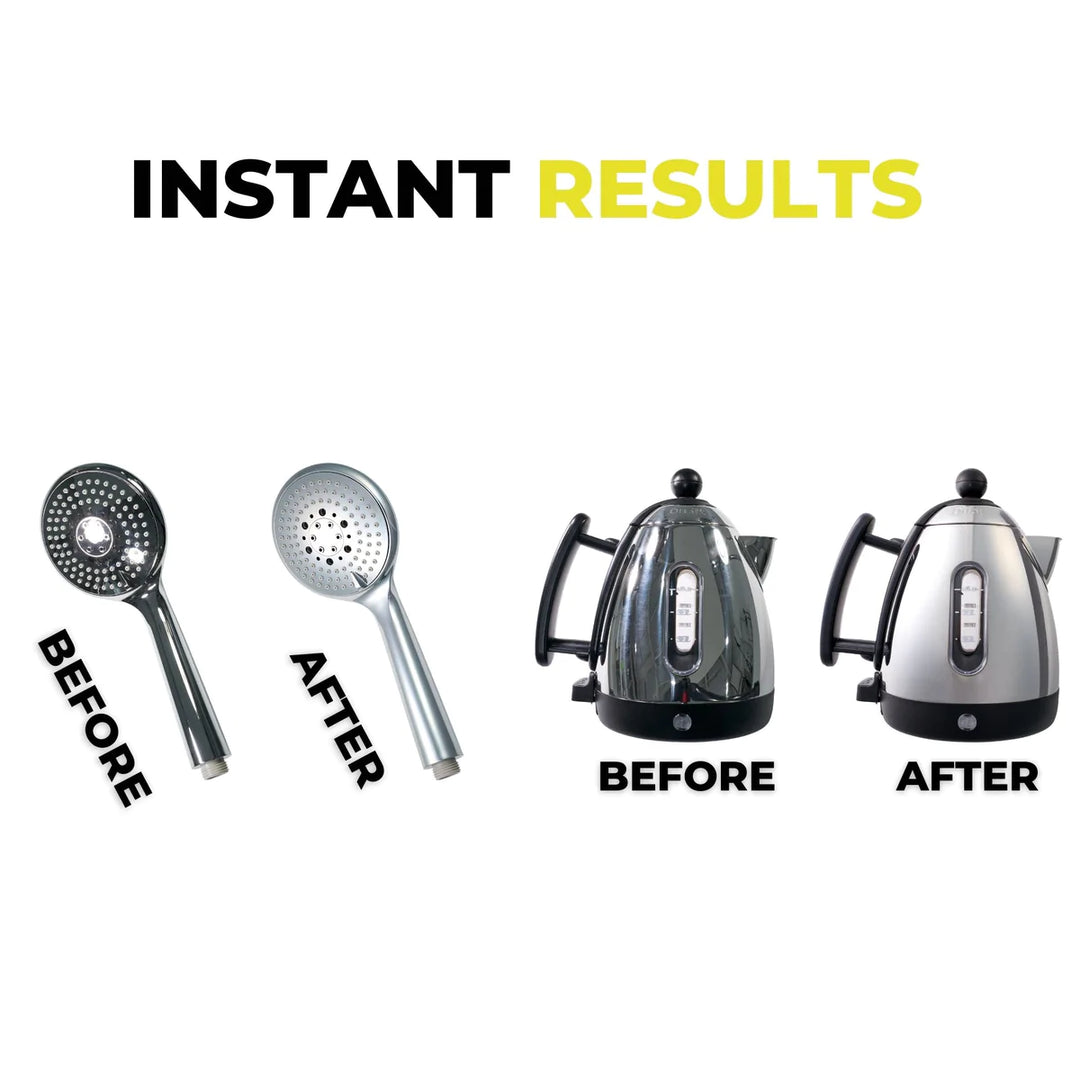
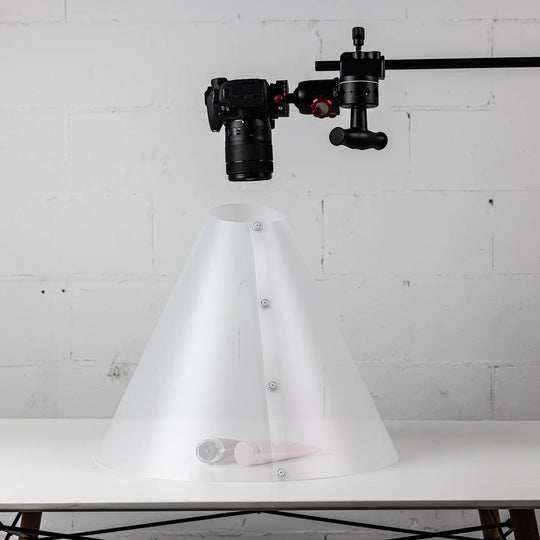
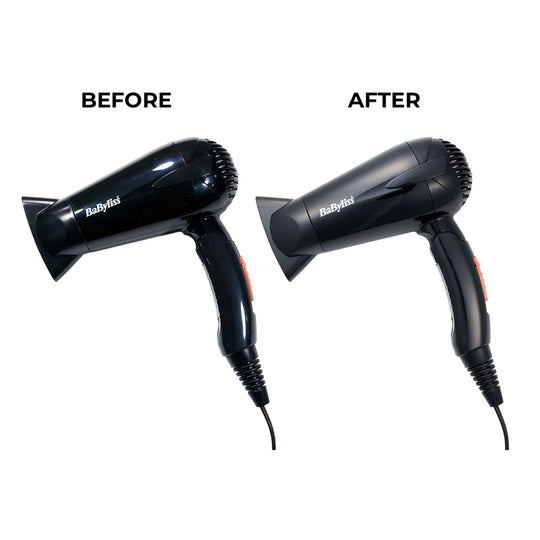
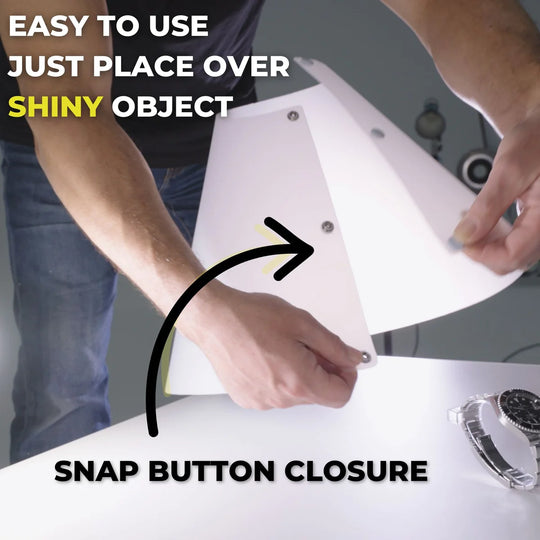
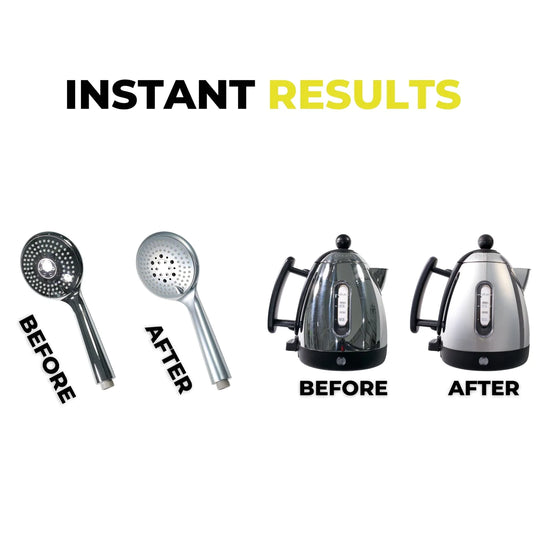
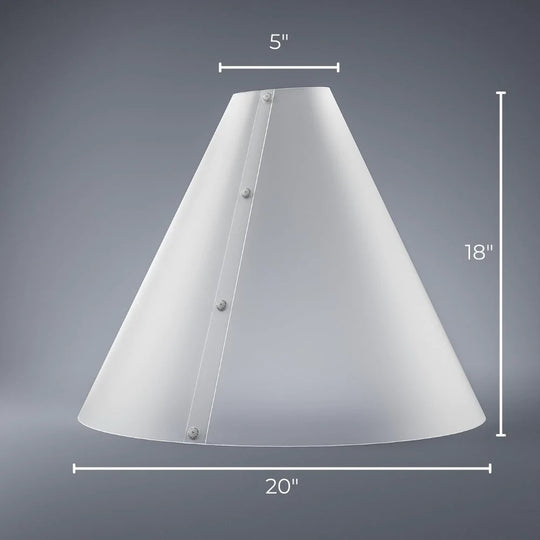
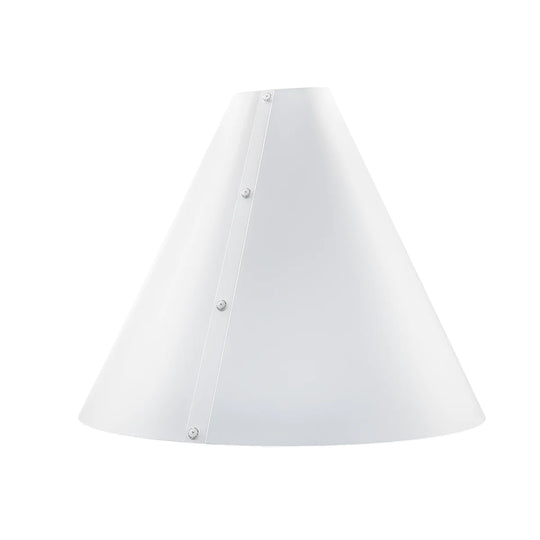
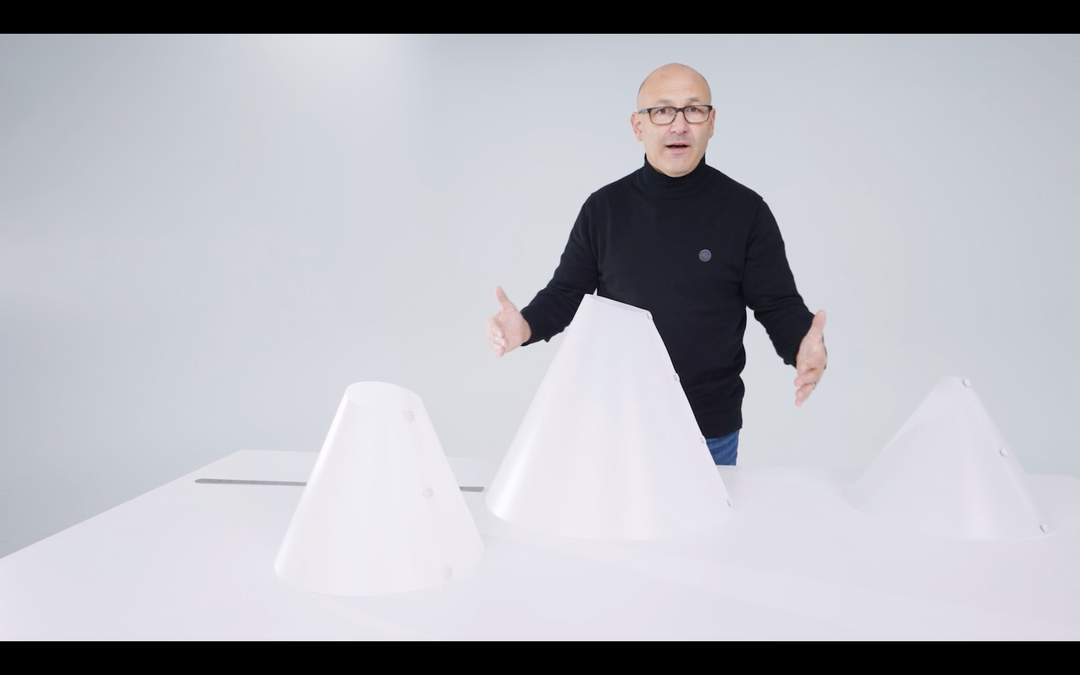
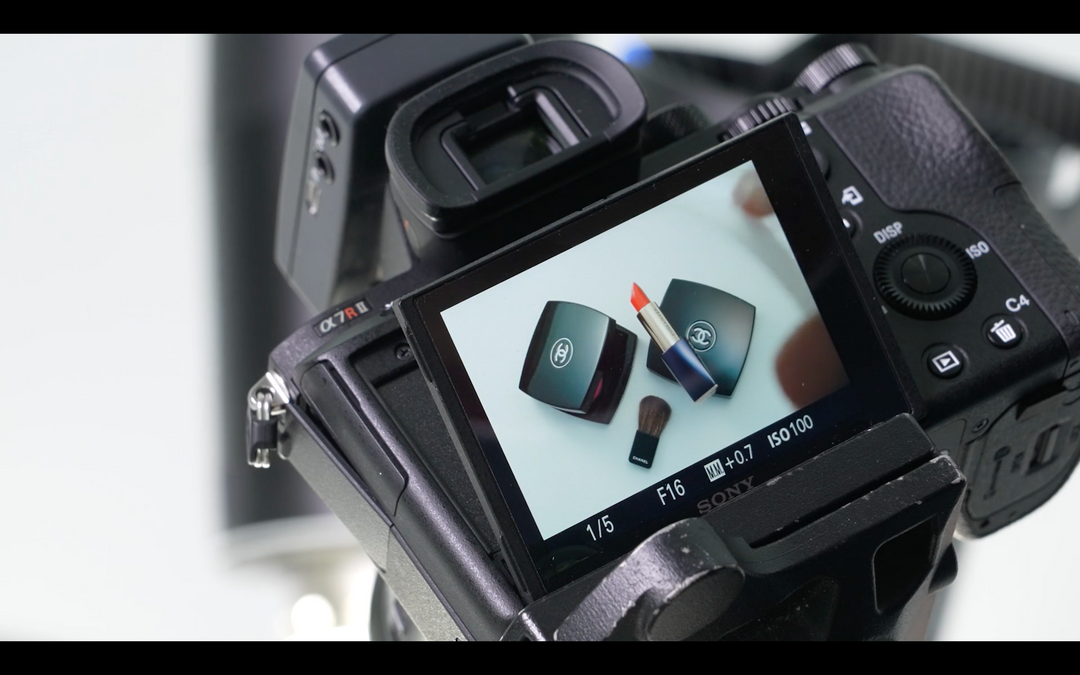
After taking a shot, we have a terrible result because of dark black reflections of the studio area around and bits of lighting that don't look very nice. To solve this, we introduce the large size light cone into position over the product, and immediately we can see through the viewfinder on the live display that we have a much nicer-looking lighting than before. We take the shot again, and now we have a beautiful correctly exposed image.
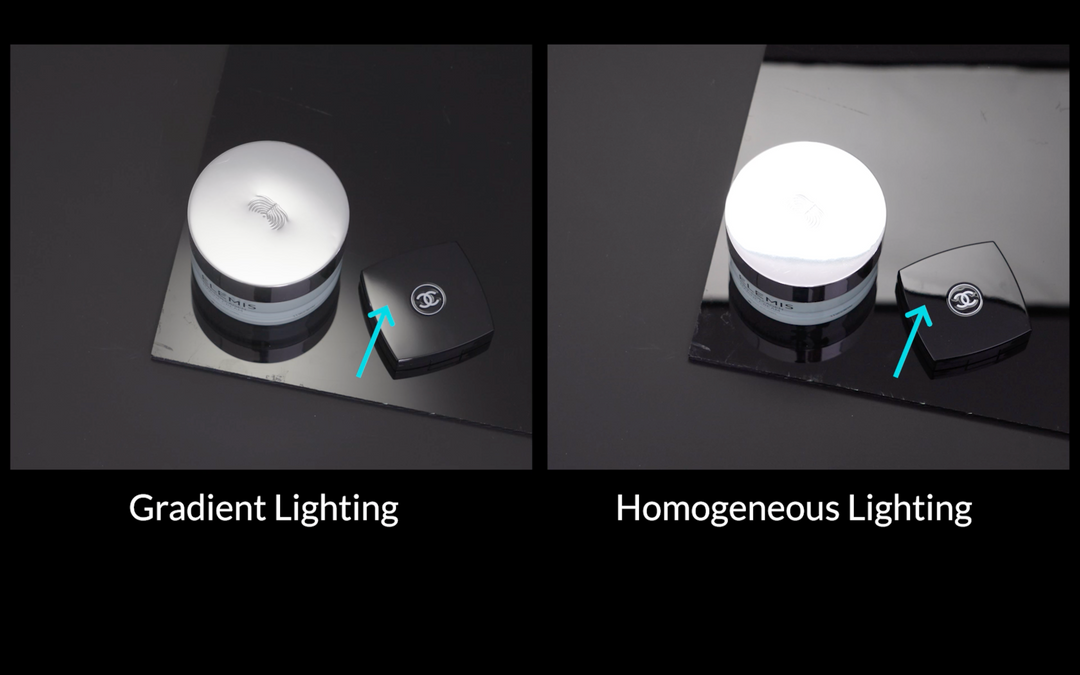
With the image, we want to control the light. At the moment, the lighting is coming predominantly from the top right-hand corner of the light switch. That's because this light is considerably closer, creating a brighter highlight on that area of the product. So we want the lighting to be predominantly from the left-hand side. We'll just pull this light back a little bit to soften that one out, and this time we'll bring this light in a lot closer to illuminate this corner instead.
We take the shot again, and now we have our gradation of light running from the upper left side of the product, which we much prefer. If we wanted a little bit more under lighting onto the product, we could simply take one of the studio lights, move it around to the opposite side, and take a shot from this one. We introduce some edge lighting on the lower side by bringing it into different positions, different heights, and using live view tethered to see your lighting change live as you do it.
One Light Studio
You don't need three lights; you can still utilize the light cone even with one light. In the next demonstration, we'll turn two lights off and work with one light only. With a single light only, we get a beautiful result with the gradation running across the product from left to right, showing how effective the light cone is even with one light.
The beauty of using the light cone is that we get our main gradation of light through our frosted material, and the internal elements of the light cone also act as a reflector bouncing some of that light back. We can choose to add additional lights to create further smooth gradations of light to give us that really polished product photography look.
