Light Cone Video Tutorials
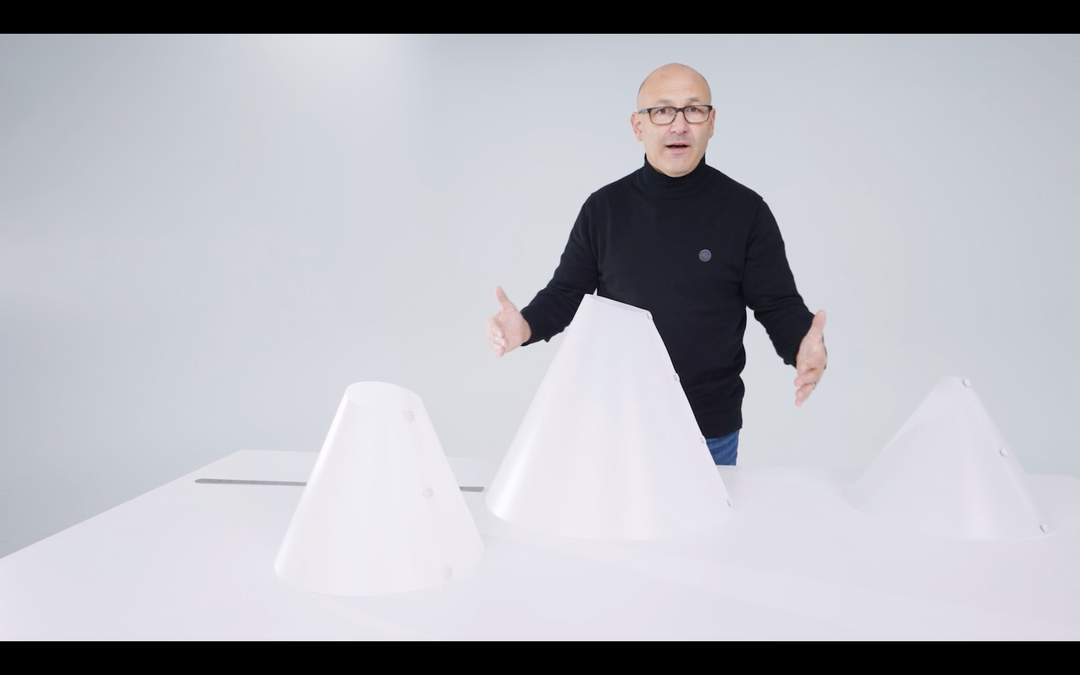
Learn about the different sizes of Light Cones and their suitability for various photography scenarios. The large Light Cone is the most versatile, accommodating large, medium, and small items, but requires a greater shooting distance. For small objects like jewellery, the medium Light Cone may be preferable. The iPhone Light Cone is specifically designed for smartphone cameras. If using a macro lens, the large Light Cone is still effective for photographing small objects. Consider your camera format and lens capabilities when choosing the appropriate Light Cone. Additionally, there is a value pack available with three Light Cones, offering better value for money.
Continue reading
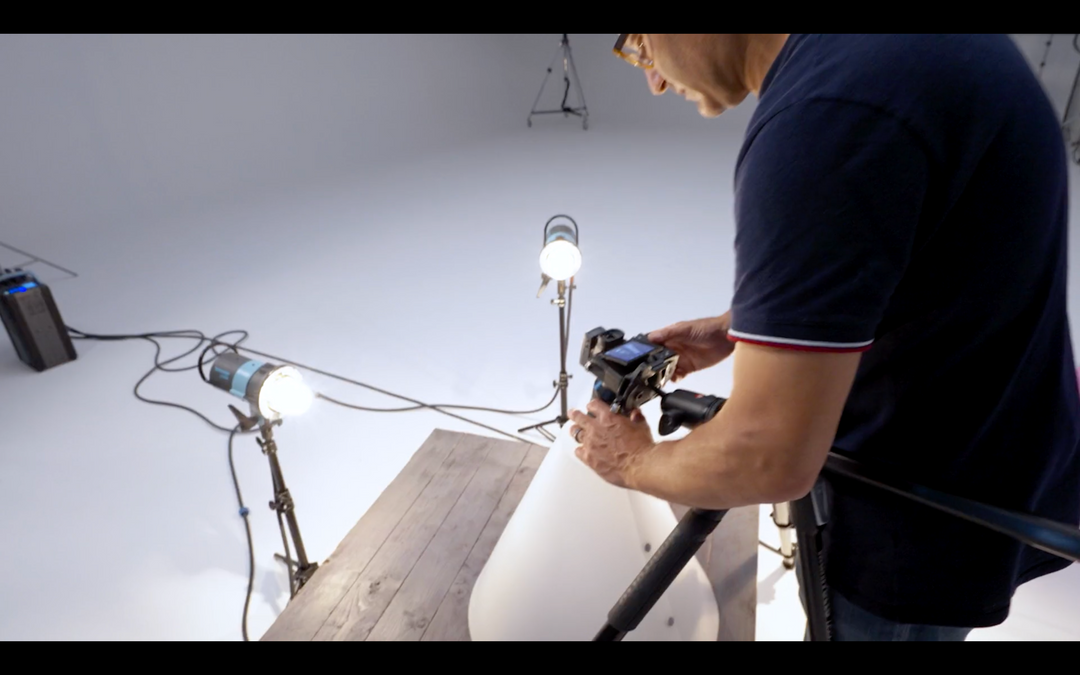
When using a Light Cone for shooting, it's common to shoot from a top-down or angled position. To achieve desired lighting effects, you can elevate or angle your products using blocks or attaching them with tack. By using creative solutions like vertical positioning, you can overcome challenges and effectively capture various products.
Continue reading
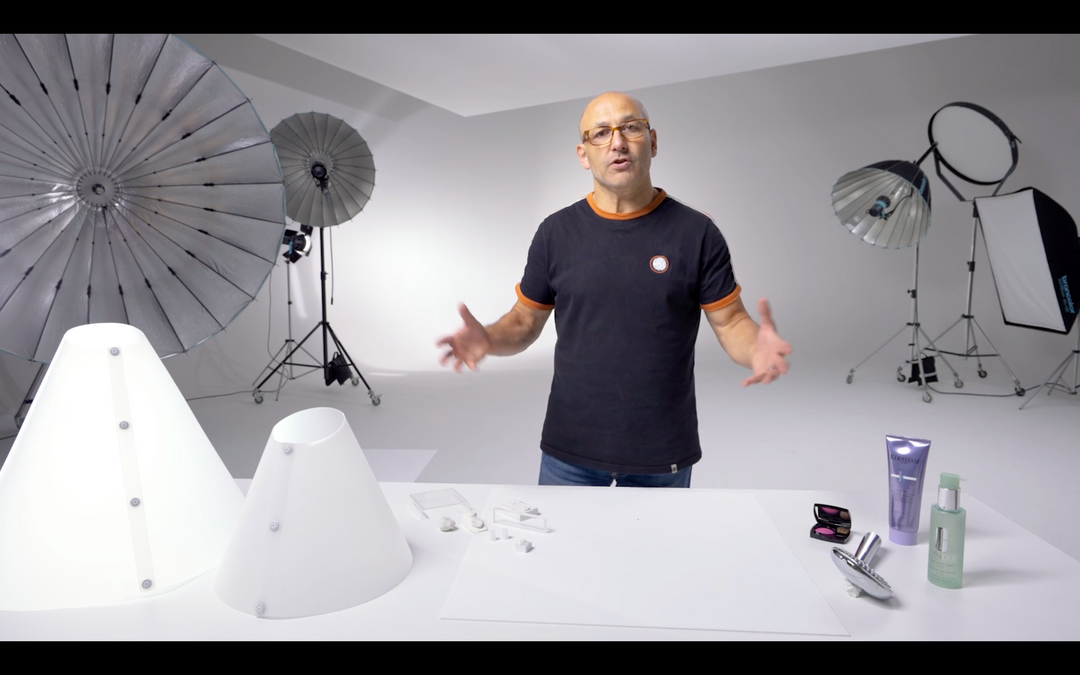
In product photography, the choice of background is not limited to white matte acrylic. Other options include coloured matte acrylic, black, white gloss, wood, and v-flat world Duo boards. The light cone can be used with any of these backgrounds to achieve well-lit product images. This provides photographers with a range of creative possibilities for background selection.
Continue reading
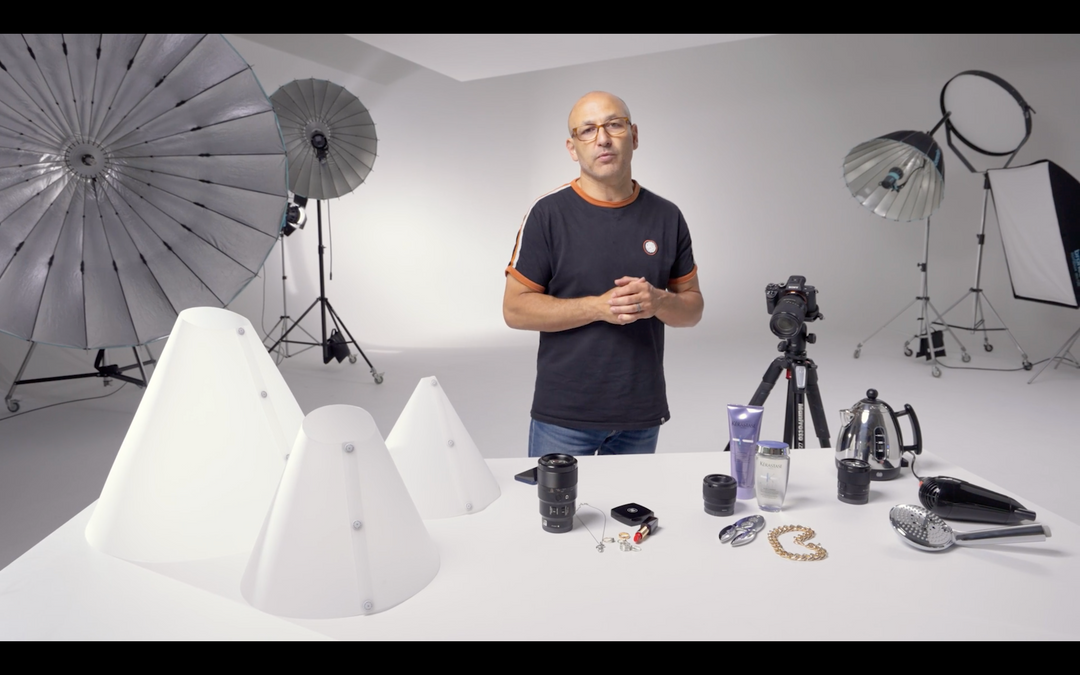
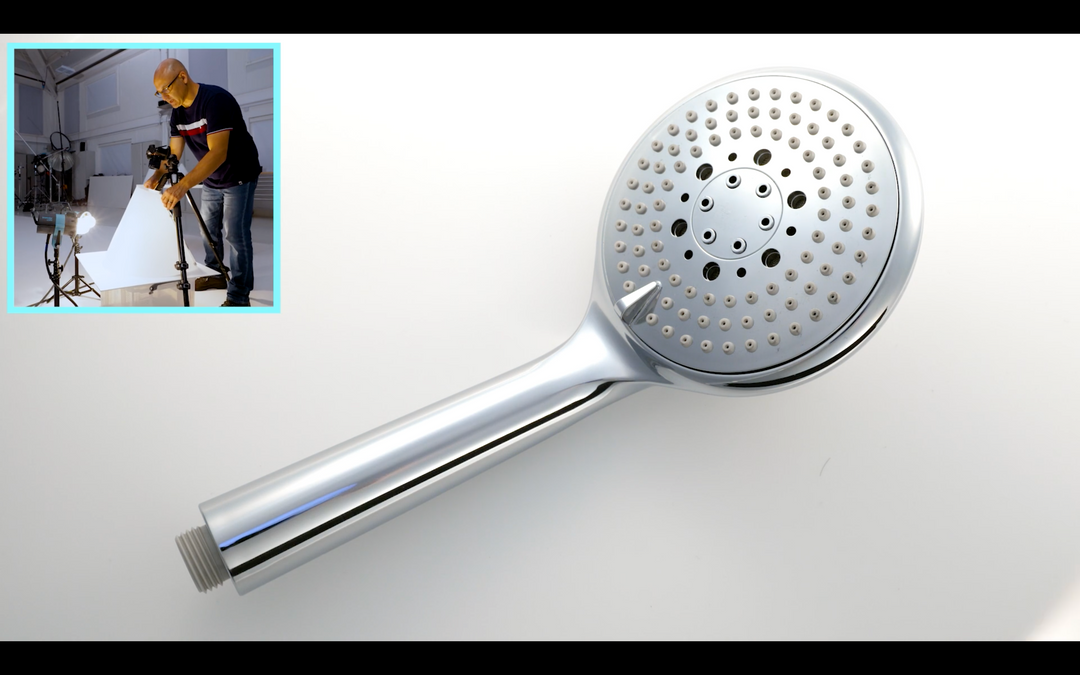
Although there is a range of Light Cone sizes, the Large Light Cone can service most product photography scenarios. From larger objects like a kettle, hair dryer, or shower head through to medium-sized objects like a necklace or shampoos are easy with the large Light Cone. Raising your items and positioning the Large Light Cone is recommended when shooting smaller objects such as jewellery or small cosmetics. The focal length of the lens also matters, with a 35mm lens suitable for larger products, a 50mm lens for mid-sized products, and a macro lens (60-150mm) for smaller products. Smartphones with multiple lenses can also be used, with the close-up lens ideal for photographing small items. Considerations should be made to ensure the product fits inside the light cone, and any minor interference from the light cone can be removed in post-production.
Continue reading
In this video, the Karl Taylor demonstrates techniques for creating glossy effects on surfaces by adding black stripes or patches. One method involves lifting the Light Cone to create a small black stripe, which can be positioned by adjusting the angle. Another technique is applying black electrical tape or black card directly on the Light Cone, resulting in customisable black stripes on the subject. These methods allow for the creation of gloss looks and enhance the visual appeal of products.
Continue reading