Achieving Perfect No Cut Out White Backgrounds for Product Photography
Product photography is an essential part of marketing and showcasing products online. One of the critical factors in creating compelling product images is achieving a perfect white background. This article will guide you through the process of achieving no cut out white backgrounds for your product photography.
The Setup
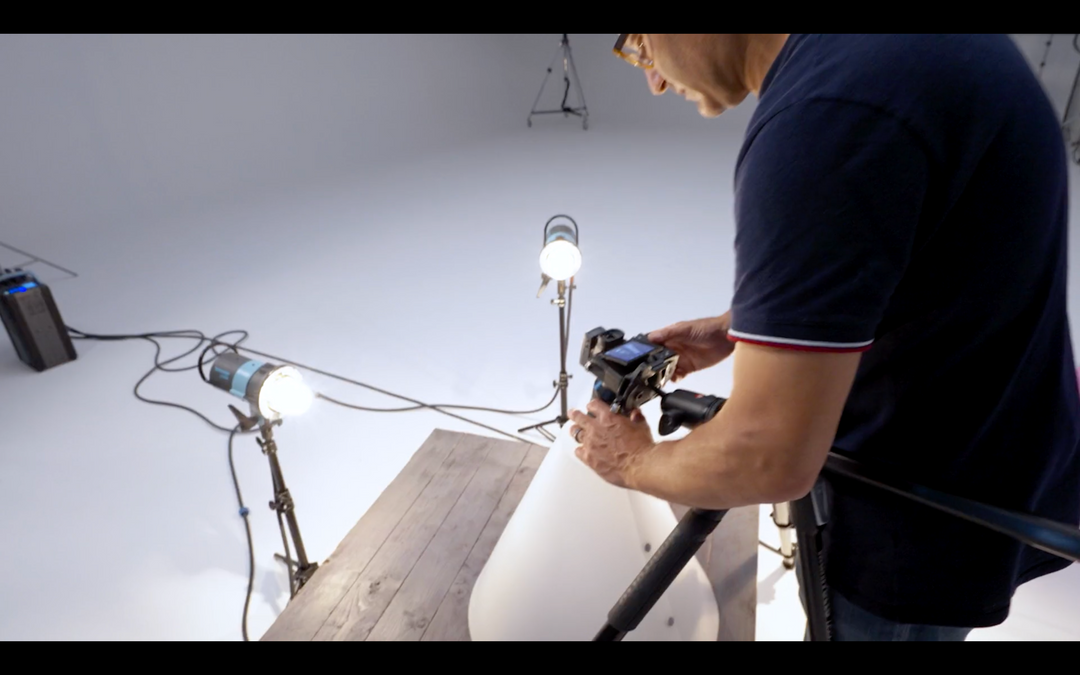
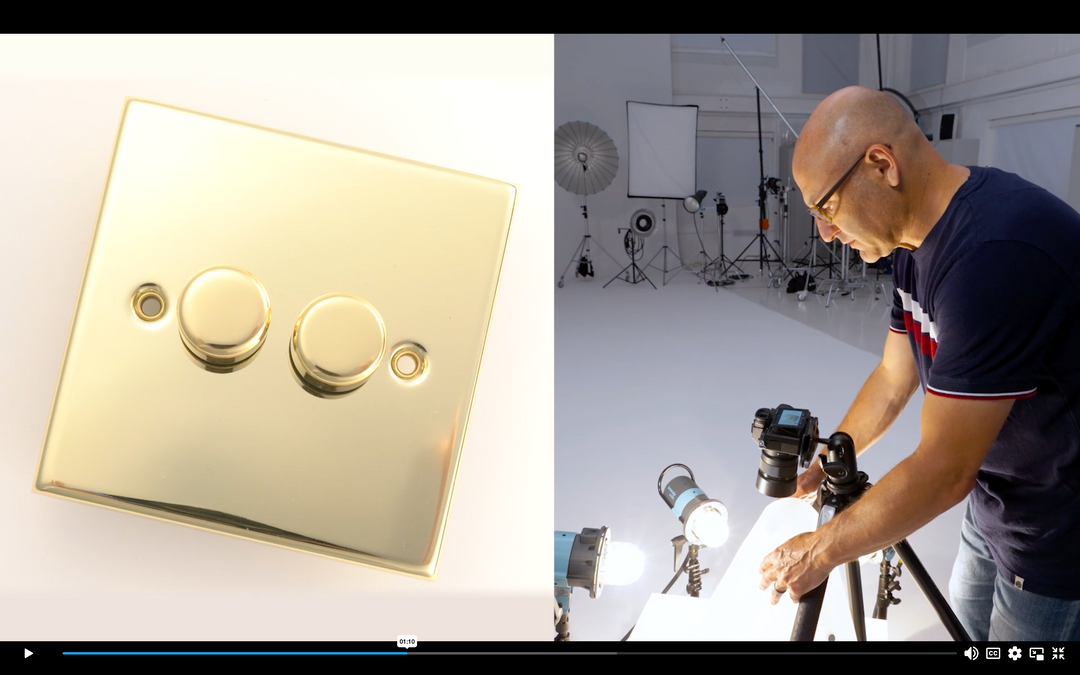
To achieve pure whites, we need to understand some basic physics. The setup for achieving pure whites is simple. A great technique used by many photographers is to use a glass or clear acrylic sheet raised off the ground. Place a white matte acrylic sheet on the floor and illuminate it with an LED light. The light bounces off the white reflector at the back, illuminating the white area. You can use two lights underneath for more effectiveness.
Lighting the Product
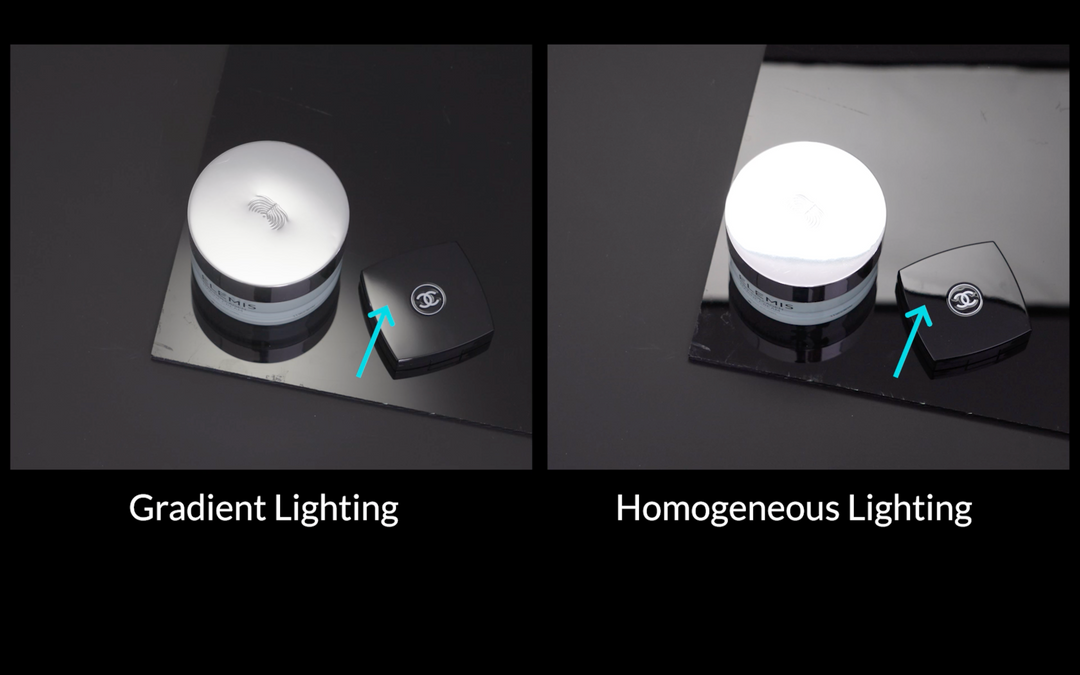
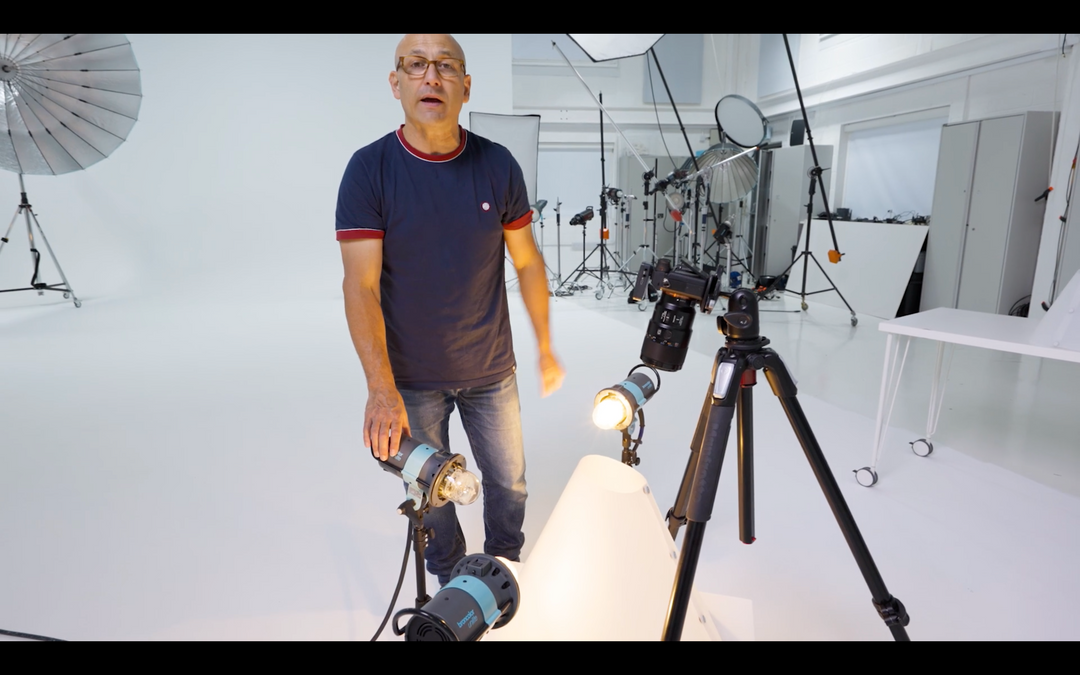
To illuminate the product, we need additional lights. In the video, three LED lights are used: one shining down onto the floor, and two more illuminating the product. However, if you have a glossy, spherical item, like the one used in the video, the remaining lights will not work. Glossy objects create harsh specular highlights due to their reflective surface.
The Karl Taylor Light Cone
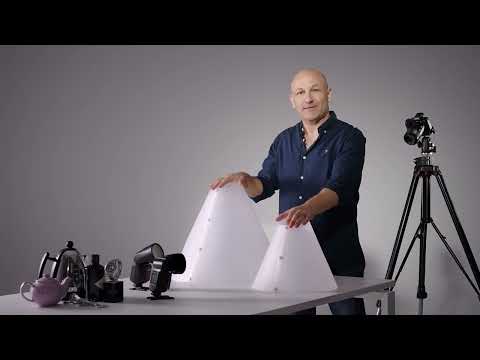
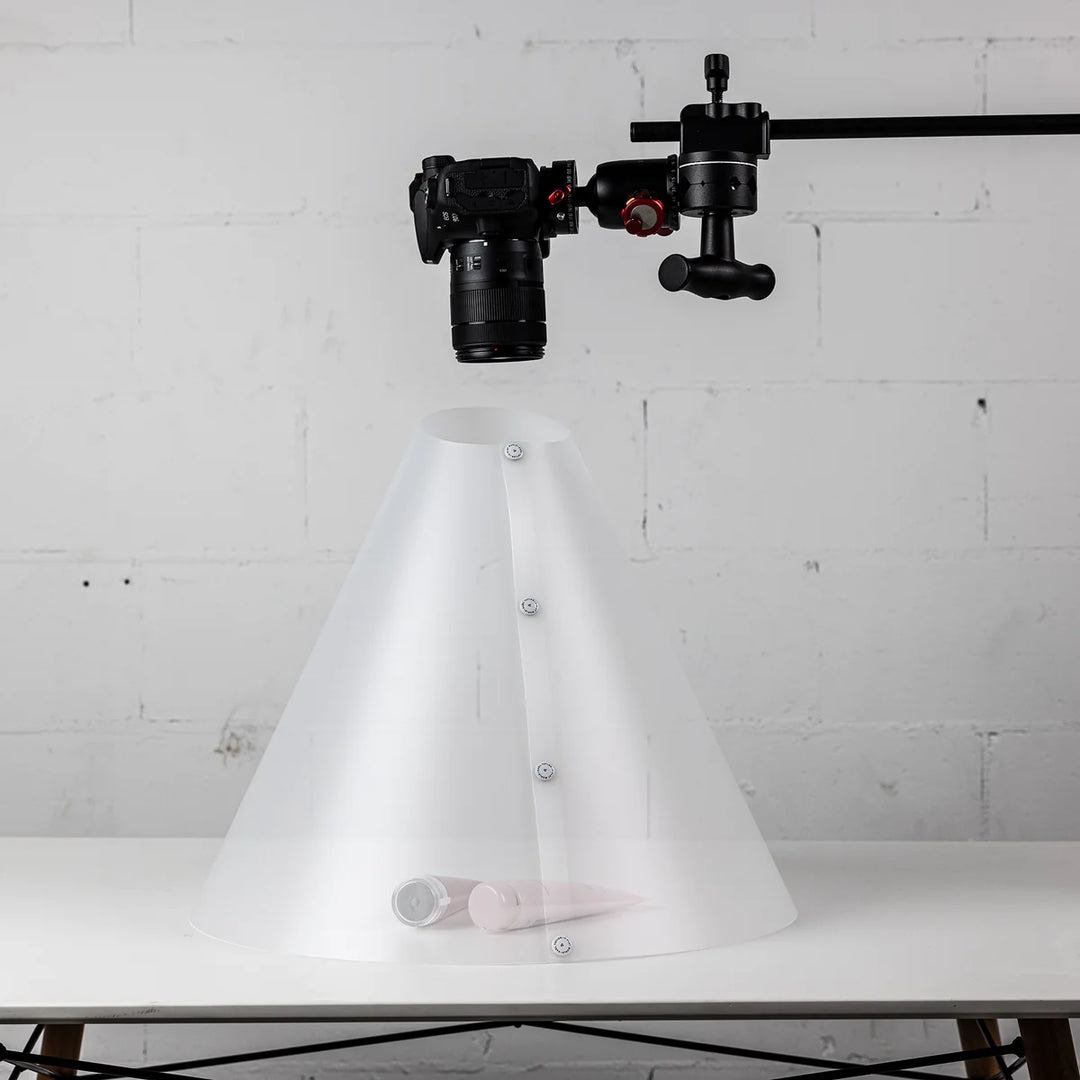
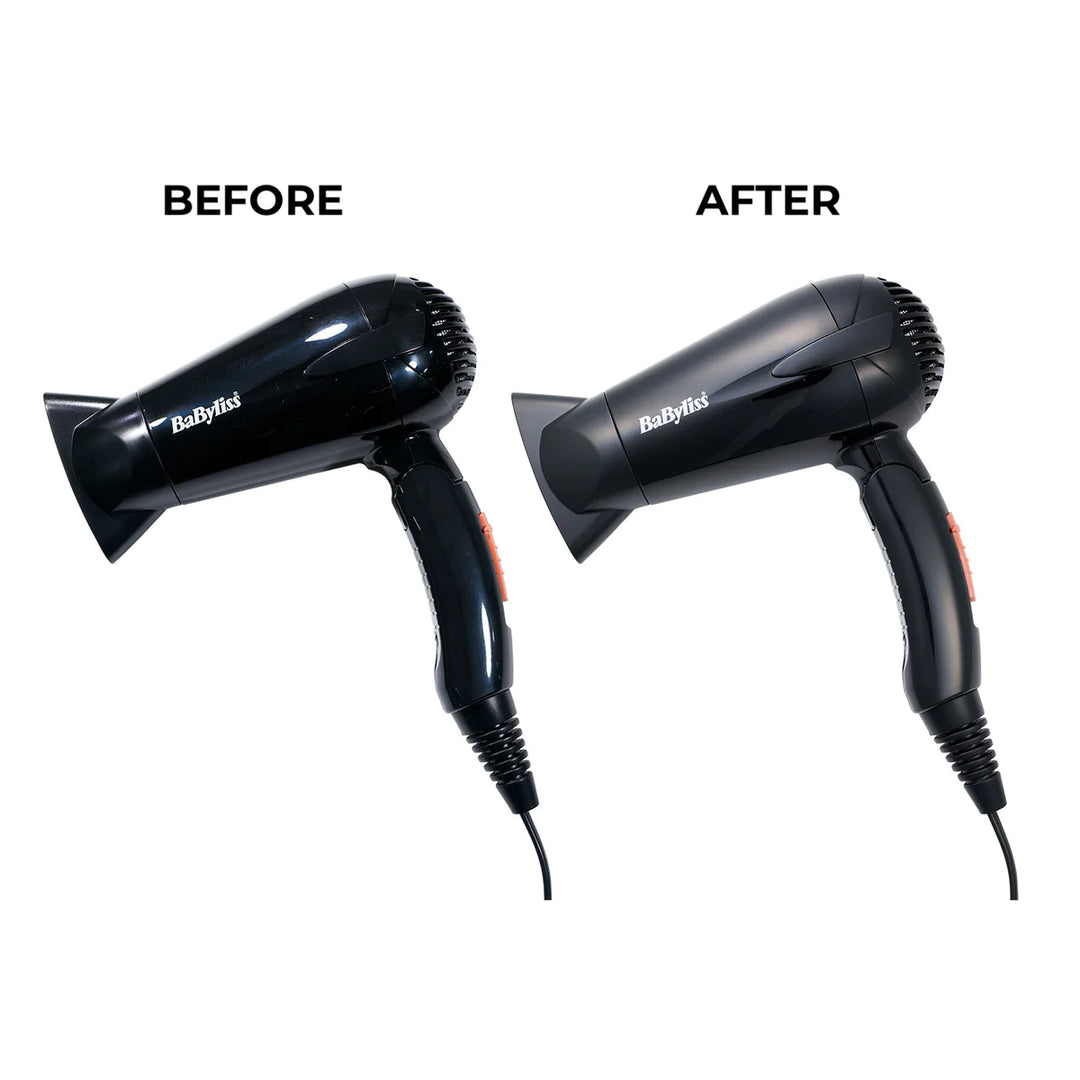
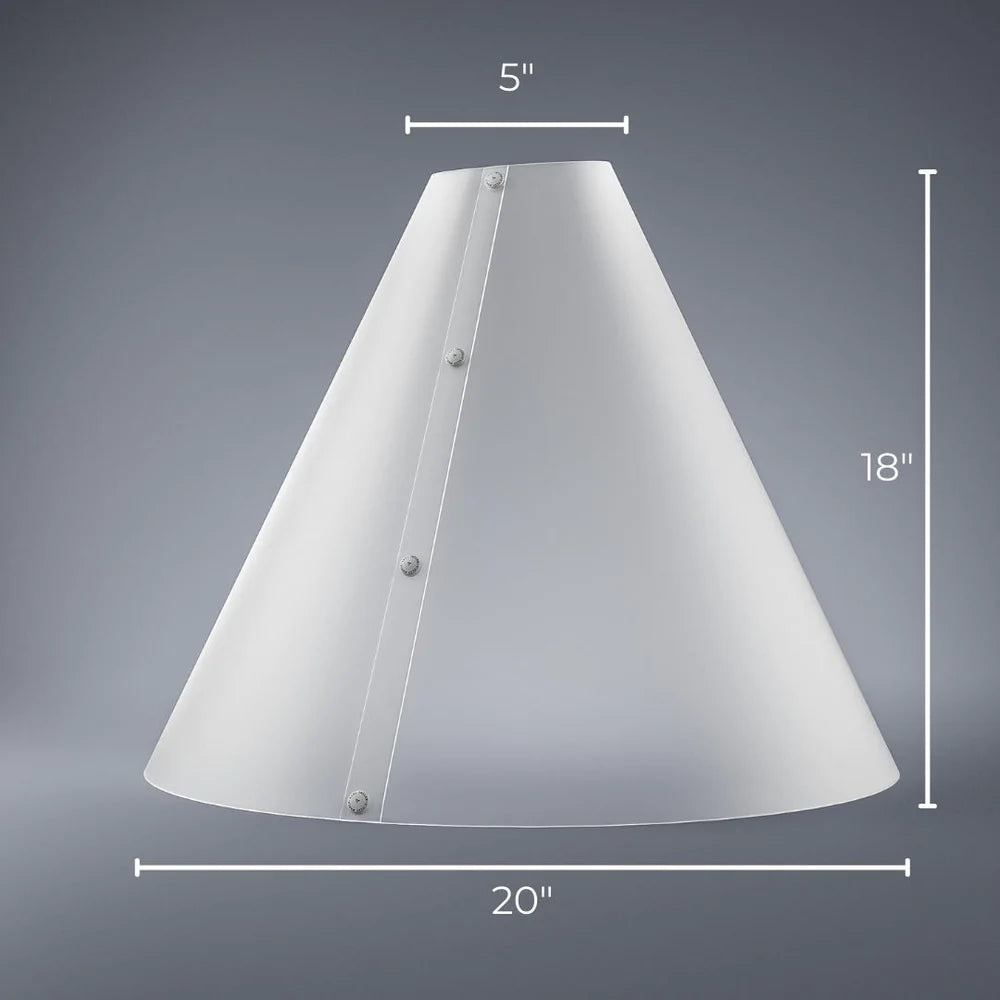
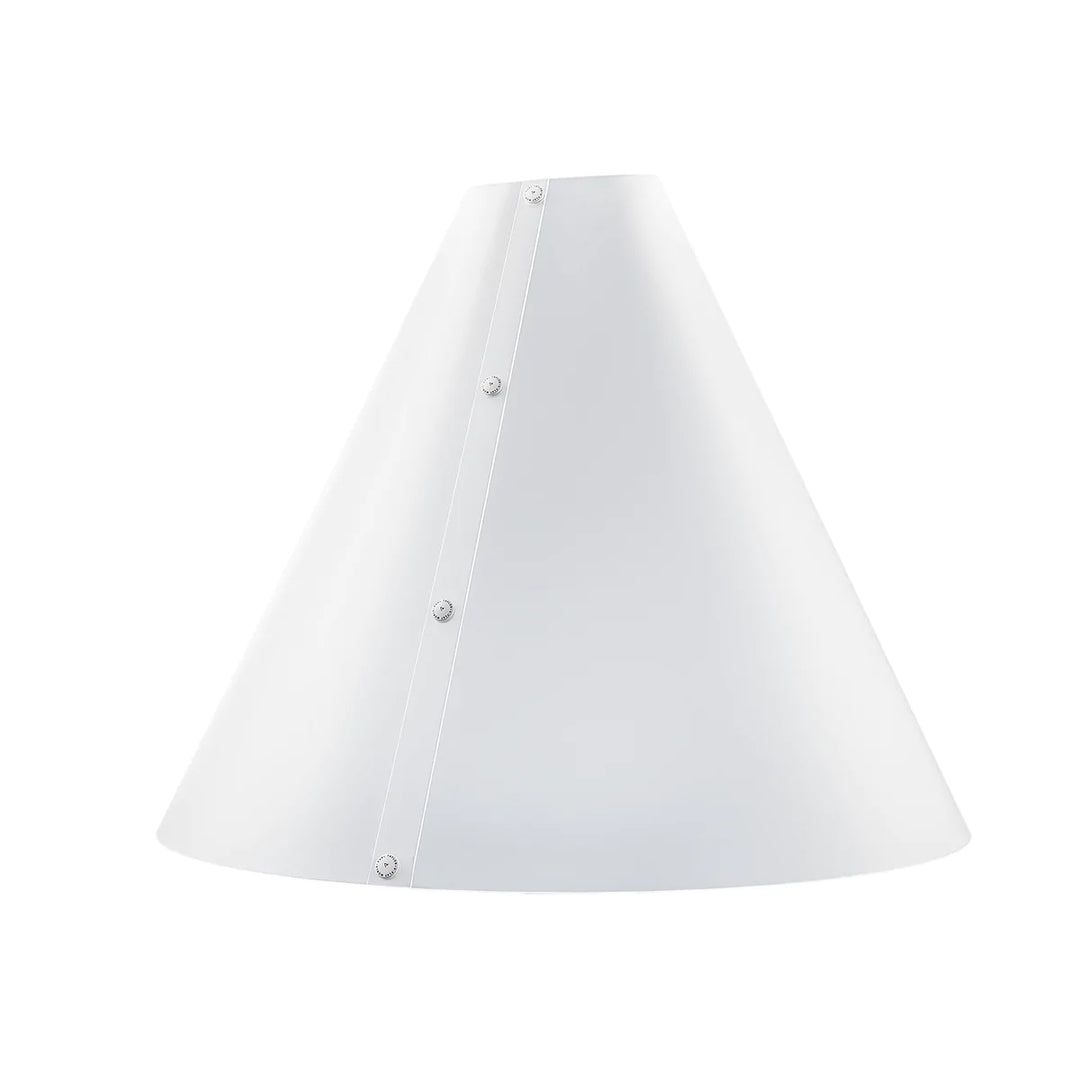
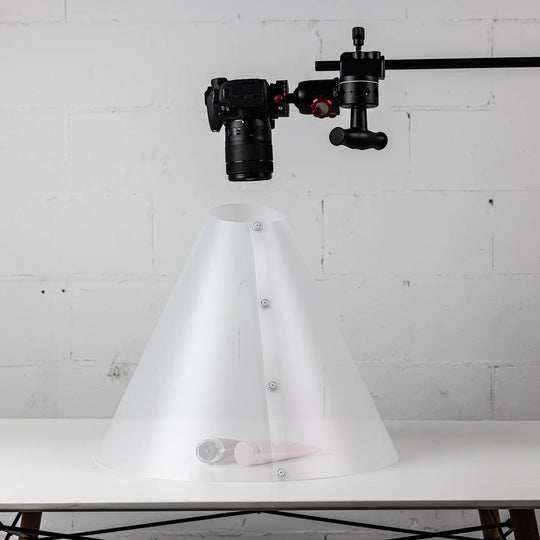
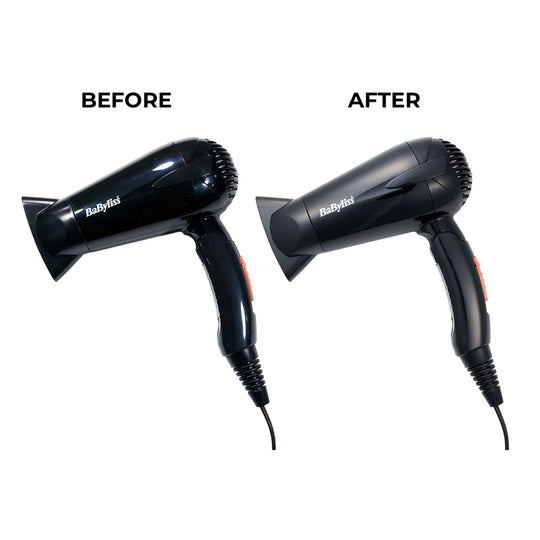
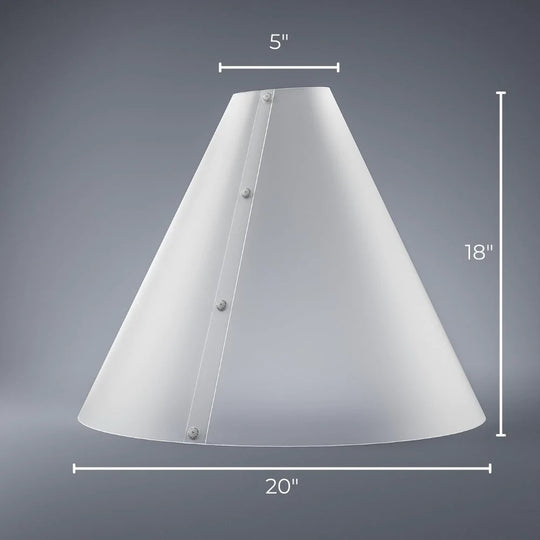
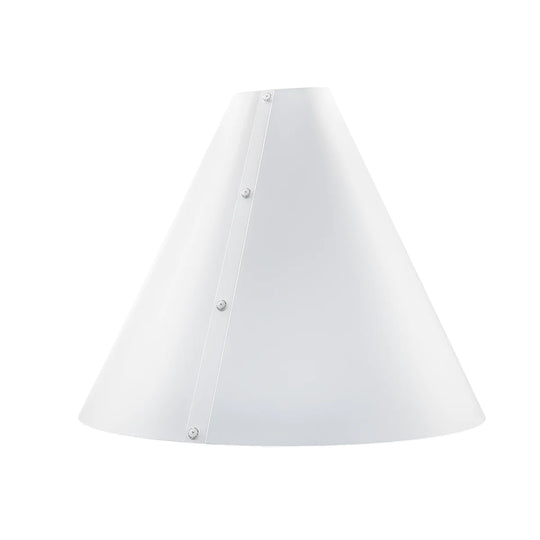
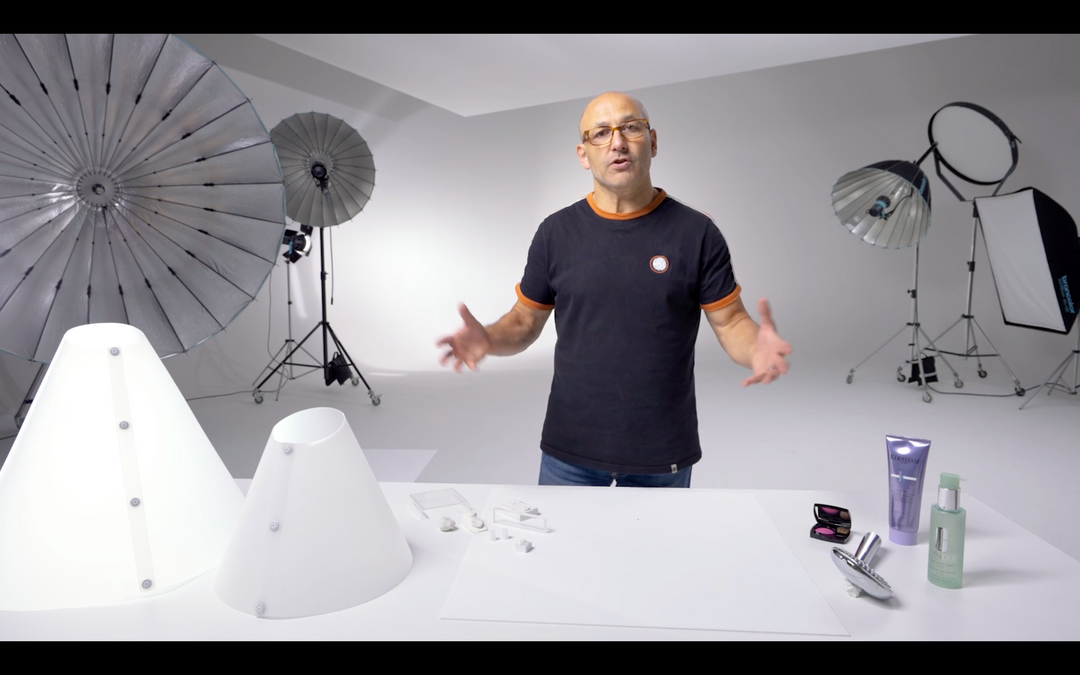
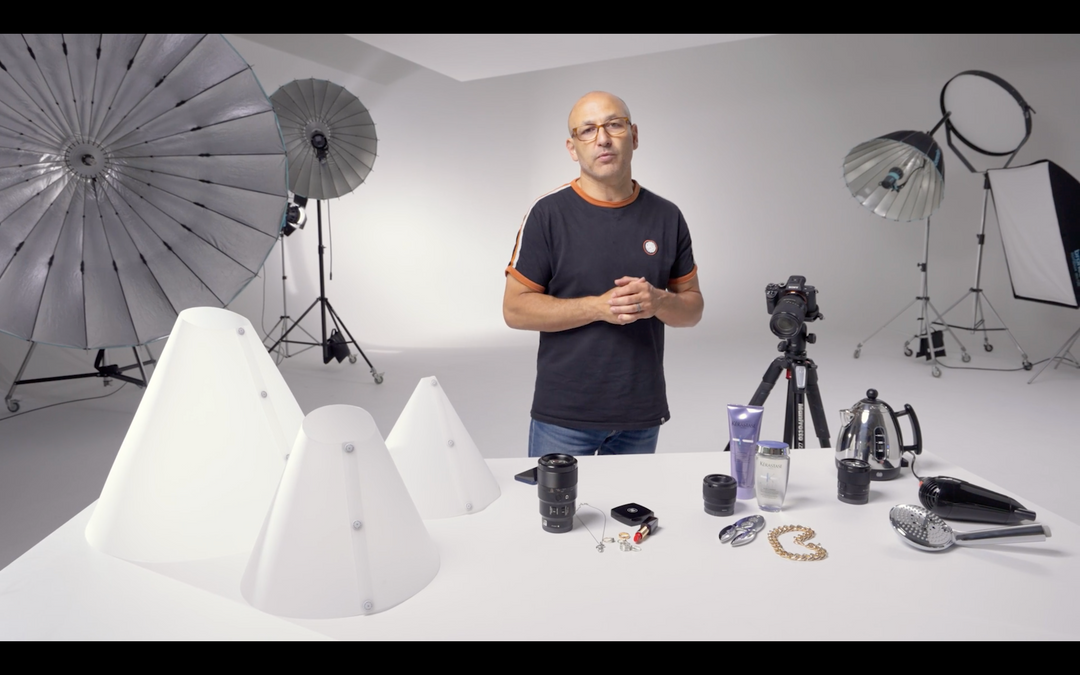
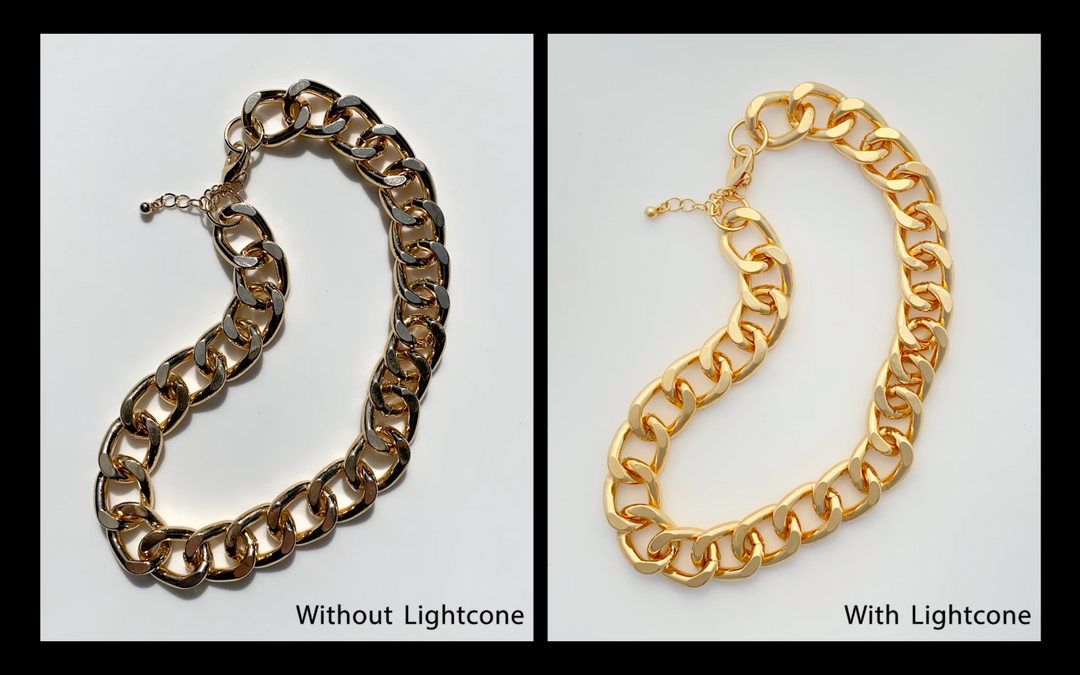
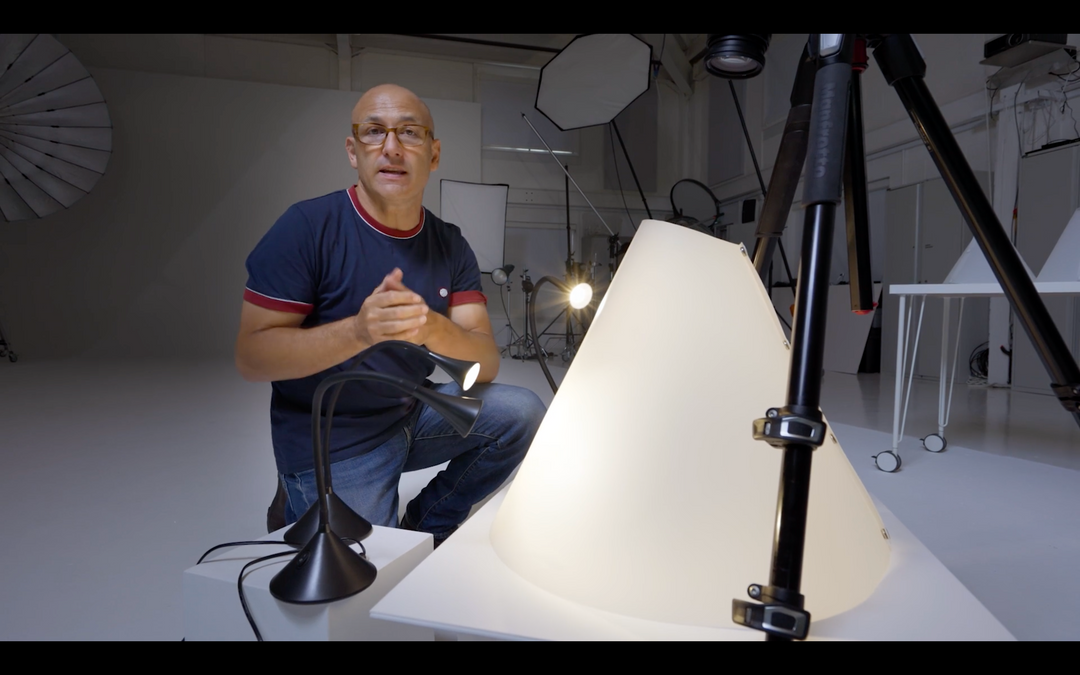
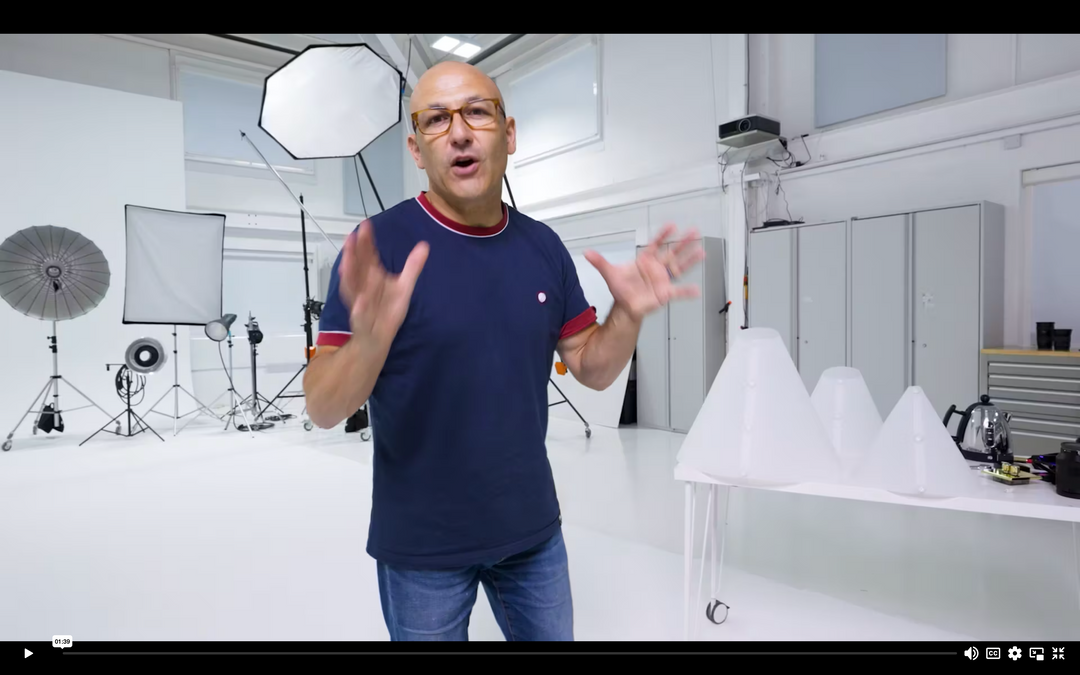
The Karl Taylor light cone has the perfect optical density properties for smooth gradations in a product. It can transform the illumination of a product by creating the right diffusion levels to make it look more attractive. Place the light cone over the product, and the camera looks down through the opening hole. This transforms the harsh specular highlights into beautiful gradation lighting.
The Results
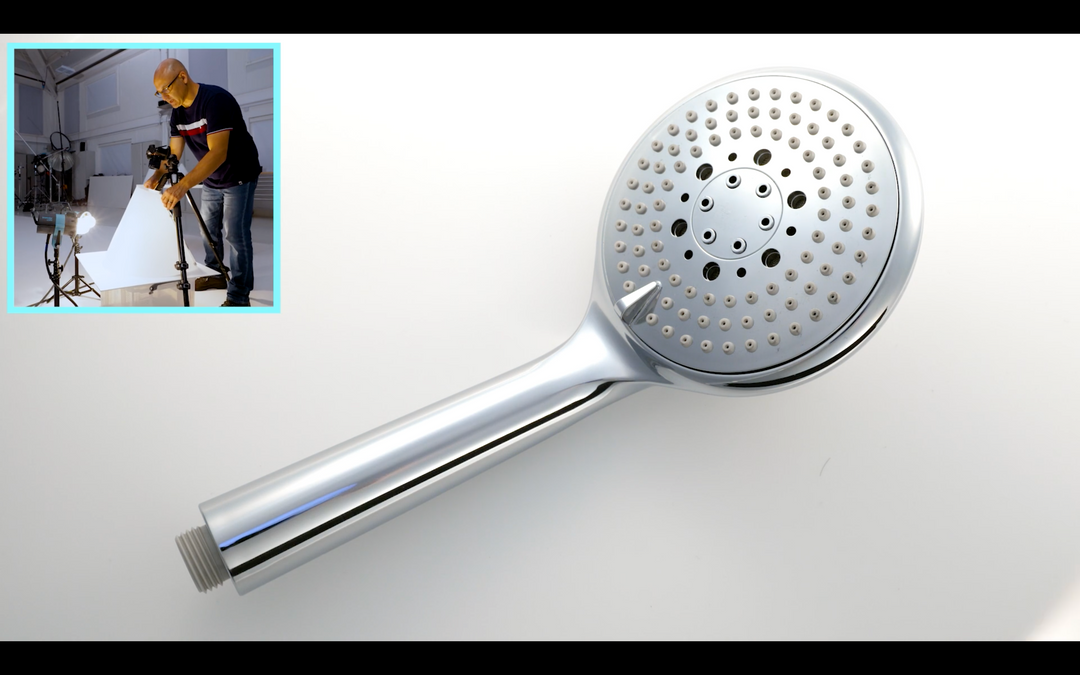
The technique produces two excellent elements: perfect no cut out white backgrounds and beautifully illuminated products. In the video, the technique was used to photograph a highly polished chrome door handle, jewelry, and other products with great results.
